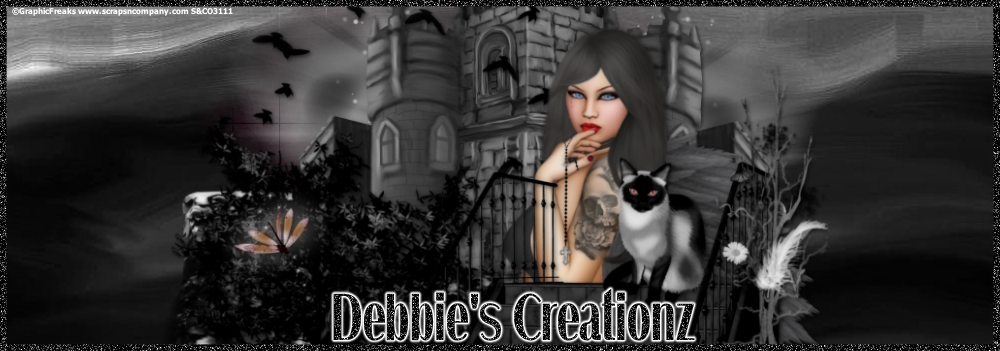

Written on the January 8, 2017 by Debbie Priest
This tutorial was written in PSP X but can be done in any version. This was written assuming you have working knowledge of PSP. Any resemblance is purely coincidental.
My tutorials are only meant as a guide.
Supplies Needed:
Font of Choice.
PTU Awesome Scrap Kit "Paola" by Bibi's Collection. You can get it Here

Tube of your choice - I am using the Beautiful artwork of ©Carpe Diem. You need a license to use this work, please do not use this work without a proper license.
You can get it Here

Mask of Choice.
Plugins: Xero Porcelain
Eye Candy 3.1 Glow
Drop Shadow throughout is 1, 1, 50, 4.00 Black.
On to the Tut!!
* Open up a New Image 700 x 700. You can resize later. Flood fill white.
* Copy and paste paper 7. Layers, load mask from disk. Apply mask of choice. Layers, merge group.
* Copy and paste tube. Resize to your liking. Drop shadow. Adjust sharpness, sharpen.
* Copy and paste elements of choice. DS all. I used:
Element 86
Element 54
Element 46
Sparkles
Element 48
Element 10
Place Tube
Element 8
Element 14
Element 62
Element 53
Element 87. Dulicate. Mirror.
Element 94
Element 69. Duplicate. Mirror
Element 27
* Add any other elements you wish anywhere along the way. I wasn't keeping track, but I think I used element 35, also.
* Close out the background and mask layers, merge visible. Keep closed. Rezize 96%.
* Effects, plugins, xero, porcelain 50, 80, 128. Ok.
* Adjust sharpness, sharpen.
* Crop if desired.
* Resize all layers checked to 650 x 650 or desired size. I always resize before adding the copyright. It makes the copyright clearer.
* Add your name, copyright info., proper license # (if needed), and watermark.
* Merge visible and save as PNG file.
I hope you enjoyed my tutorial.
No comments:
Post a Comment